Homebrew Complete Beginner Guide for macOS Tahoe 2026: Install, Use & Manage Packages
Homebrew is the single most useful tool you can add to your Mac that Apple did not include. It lets you install, update, and manage hundreds of open-source command-line tools and applications with one simple command. This complete beginner guide covers everything you need — from installation to daily use — on both Apple Silicon and Intel Macs running macOS Tahoe or Sequoia in 2026.
What Is Homebrew?
Homebrew calls itself “The Missing Package Manager for macOS” — and that description is accurate. macOS ships with a limited set of command-line tools. Homebrew fills the gap by giving you access to thousands of packages: developer tools, utilities, programming languages, databases, and even full GUI applications.
Homebrew installs packages to their own directory and then symlinks their files into /opt/homebrew on Apple Silicon Macs. On Intel Macs the default prefix is /usr/local. This design means Homebrew never overwrites macOS system files.
As of March 2026, Homebrew 5.1.0 is the latest stable release, adding expanded brew bundle support, a new brew version-install command, and updated installer options.
Before You Install: Requirements
macOS 14 (Sonoma) or higher is best supported. macOS 10.15 (Catalina) through macOS 13 (Ventura) are unsupported but may still work. macOS 10.14 (Mojave) and older will not run Homebrew at all.
You also need:
- Xcode Command Line Tools (Homebrew installs these automatically)
- A stable internet connection
- An administrator account on your Mac
How to Install Homebrew on macOS Tahoe or Sequoia
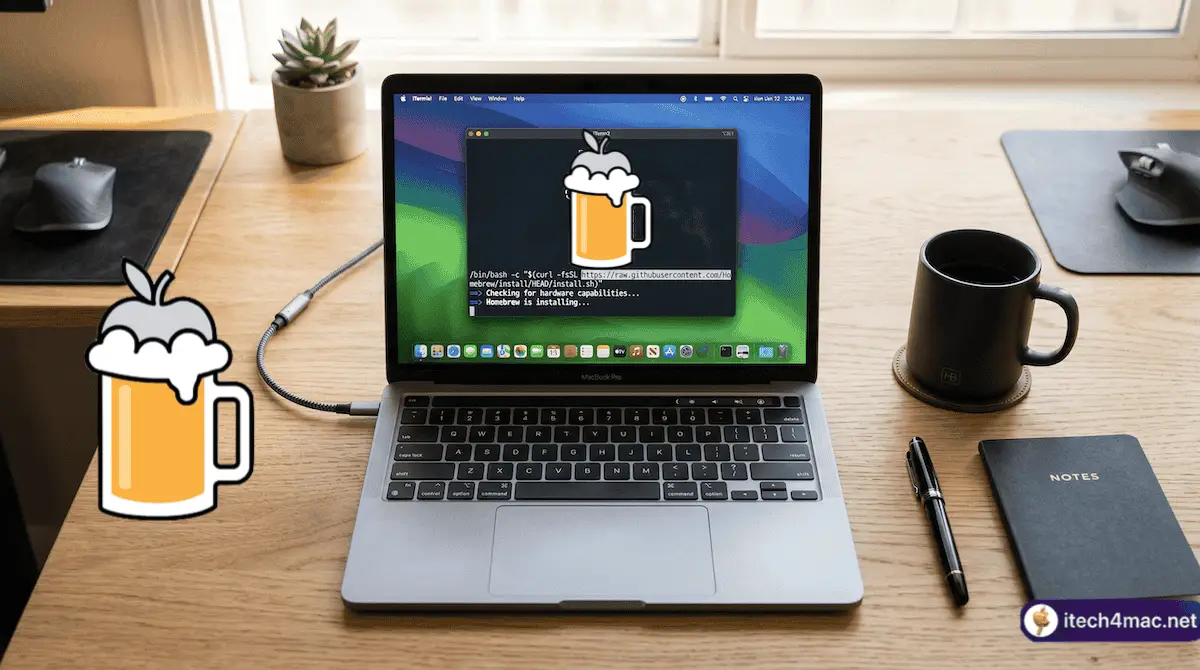
There are two ways to install Homebrew. The classic method uses a single Terminal command. A newer option is the .pkg installer, which you can download from Homebrew’s latest GitHub release and run like any other macOS installer. Both produce an identical installation.
Method 1: Terminal Command (Recommended)
- Open Terminal (Applications → Utilities → Terminal, or Spotlight → Terminal)
- Paste this command and press Return:
/bin/bash -c "$(curl -fsSL https://raw.githubusercontent.com/Homebrew/install/HEAD/install.sh)"
- Enter your Mac password when prompted (it will not show as you type — this is normal)
- Press Return again when asked to confirm
- Wait while Homebrew downloads and installs Xcode Command Line Tools and the Homebrew core
Method 2: .pkg Installer
Visit the official Homebrew GitHub releases page, download the latest .pkg file for your architecture (Apple Silicon or Intel), and run it like a normal macOS app installer.
Step After Installing: Add Homebrew to Your PATH
On Apple Silicon Macs, Homebrew will display a message after installation asking you to run two commands to add it to your shell PATH. Copy and paste both commands exactly as shown and press Return after each. Without this step, the brew command will not be found in Terminal.
To verify the installation worked, run:
brew --version
You should see output like Homebrew 5.1.0.
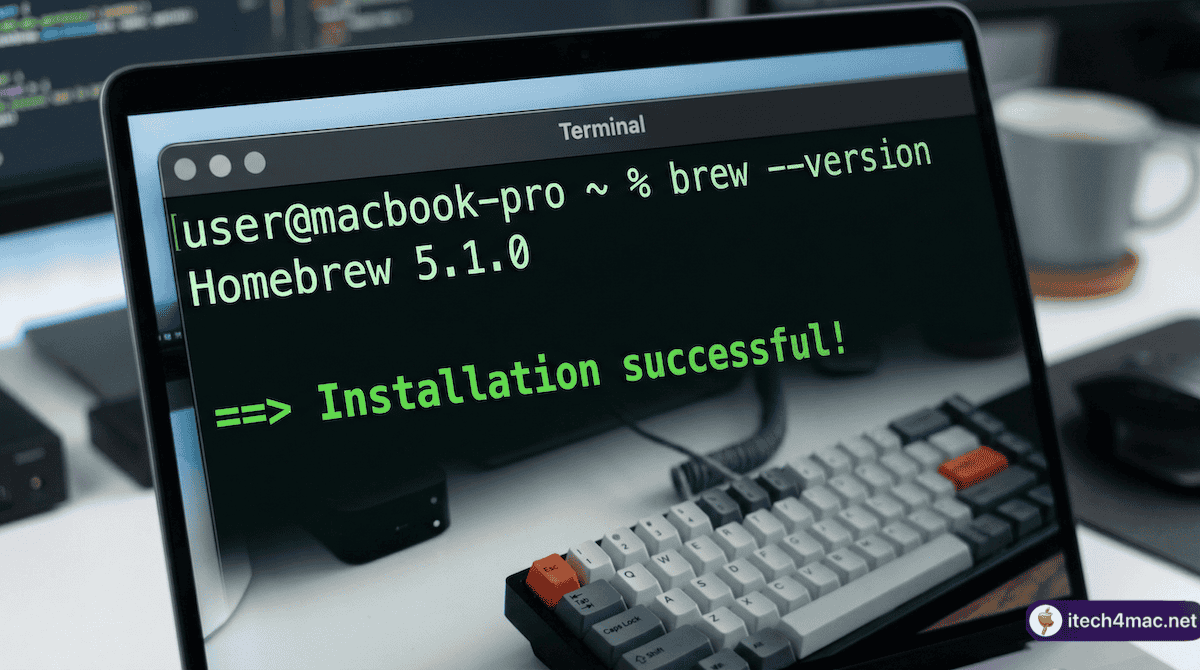
brew --version confirms the version in TerminalCore Homebrew Commands Every Beginner Needs
| Command | What It Does | Example |
|---|---|---|
brew install |
Installs a package | brew install wget |
brew uninstall |
Removes a package | brew uninstall wget |
brew search |
Searches for a package by name | brew search ffmpeg |
brew info |
Shows details about a package | brew info git |
brew list |
Lists all installed packages | brew list |
brew update |
Updates Homebrew itself | brew update |
brew upgrade |
Upgrades all outdated packages | brew upgrade |
brew cleanup |
Removes old versions and cached files | brew cleanup --prune=all |
brew doctor |
Checks for configuration problems | brew doctor |
brew outdated |
Lists packages that have newer versions | brew outdated |
Homebrew Formulae vs Cask: What’s the Difference?
Homebrew has two types of packages:
- Formulae: Command-line tools and libraries installed into
/opt/homebrew(e.g.,git,wget,ffmpeg) - Casks: Full macOS GUI applications installed into
/Applications(e.g., Firefox, VLC, VS Code, Rectangle)
To install a GUI app with Cask:
brew install --cask firefox
brew install --cask vlc
brew install --cask visual-studio-code
Homebrew automatically detects whether a package is a formula or a cask, so you can often omit the --cask flag. But using it explicitly avoids ambiguity.
Your First 5 Packages to Install
If you are not sure where to start, these five packages are useful for almost every Mac user:
brew install wget        # Download files from the command line
brew install git         # Version control (required for almost every dev project)
brew install htop        # Better system monitor than Activity Monitor
brew install tree        # Display directory structure visually
brew install --cask rectangle  # Window manager for macOS
For a curated list of the best packages, see our full article: 50 Essential Homebrew Packages Every Mac User Should Know.
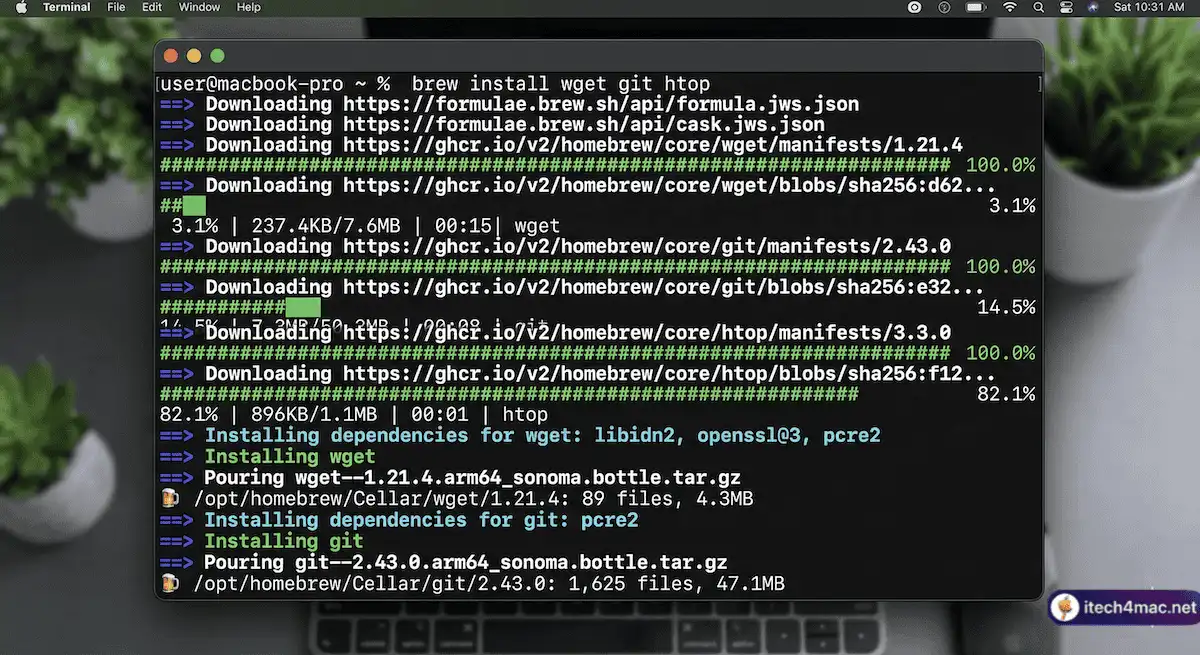
brew install — Homebrew handles downloading, verifying, and linking automaticallyHow to Keep Everything Updated
Run this sequence regularly (weekly is a good habit) to keep Homebrew and all packages up to date and your disk clean:
brew update && brew upgrade && brew cleanup --prune=all && brew doctor
The brew autoremove command removes all unused dependencies remaining in your environment — useful if you have removed packages and want to clean up any leftover files.
brew autoremove
How to Uninstall Homebrew Completely
If you ever need to remove Homebrew entirely, use the official uninstall script from the Homebrew/install GitHub repository. Never delete Homebrew folders manually.
Useful Resources
- Official website: brew.sh
- Full documentation: docs.brew.sh
- Browse all packages: formulae.brew.sh
- Common issues: docs.brew.sh/Common-Issues
- itech4mac Homebrew fixes: Fixing Homebrew After macOS Upgrades