“macOS Could Not Be Installed” Error: All Known Fixes for 2026
The error “macOS could not be installed on your computer” — along with variations like “damaged,” “failed to personalize,” “could not be verified,” and “Installation Failed” — is one of the most common barriers when updating to macOS Tahoe or Sequoia. Most of these errors have specific, known causes. This guide covers all of them.
Error Type Reference
| Error Message | Most Likely Cause |
|---|---|
| “macOS could not be installed” | Storage too full, incompatible Mac, disk corruption |
| “The installer is damaged” | Expired installer certificate, corrupted download |
| “Failed to personalize” | Apple server connectivity issue, wrong system date/time |
| “could not be verified” | SSL certificate check failed — usually a date/time issue |
| “Installation Failed” | Third-party extension conflict, insufficient disk space |
| Installation appears to complete but Mac reboots back to old OS | Firmware issue (M3 Ultra known bug — fixed in 26.0.1) |

Fix 1: Check Mac Compatibility First
macOS Tahoe 26 officially requires:
- MacBook (2020+), MacBook Air (2020+), MacBook Pro (2020+)
- iMac (2021+), Mac mini (2020+), Mac Pro (2023+), Mac Studio (all)
- Any Mac with Apple Silicon (M1 and later)
Intel Macs older than those above cannot run macOS Tahoe officially. If you own an older Intel Mac, see our OCLP Tahoe compatibility guide.
Fix 2: Free Up Storage Space
Apple recommends at least 20–25 GB free for a macOS Tahoe installation. For a comfortable install with buffer space, aim for 40–50 GB free. Check available storage:
System Settings → General → Storage
Delete large files from Downloads, empty the Trash, and remove old backups. Move media to iCloud or external drives.
Fix 3: Fix “The Installer Is Damaged” — Correct the System Date and Time
This is the most surprising fix for many users. macOS installer certificates expire, and if your Mac’s date and time are incorrect (common after NVRAM reset or battery replacement), the certificate check fails. Fix it:
System Settings → General → Date & Time → Set automatically → ON
Or in Terminal, manually set the date to today’s date:
sudo date MMDDHHmmYY # Example: sudo date 0405120026 for Apr 5, 12:00, 2026
After correcting the date, re-run the installer.
Fix 4: Download a Fresh Installer
If the existing installer is corrupted, delete it from your Applications folder and re-download:
softwareupdate --fetch-full-installer --full-installer-version 26.4
Or download from the App Store by searching for “macOS Tahoe”.
Fix 5: Try the Installation in Safe Mode
Third-party extensions (like antivirus, Logitech software, and HP utilities) can actively block installer execution. Safe Mode disables all of these:
- Boot into Safe Mode (hold Shift on Intel, or power button → hold Shift on Apple Silicon)
- Run the macOS installer from Safe Mode
- Do not restart manually — let the installer reboot the Mac normally
Fix 6: Check Apple’s Server Status
During high-demand periods (immediately after a major release), Apple’s software update servers can be overloaded, causing “failed to personalize” or “could not be verified” errors. Check Apple System Status before troubleshooting further. If there is an outage, simply wait a few hours and retry.
Fix 7: Reset the Software Update Cache (Terminal)
If updates keep failing or getting stuck on “Preparing”:
sudo rm -rf /Library/Updates
sudo softwareupdate --clear-catalog
Then restart and check for updates again.
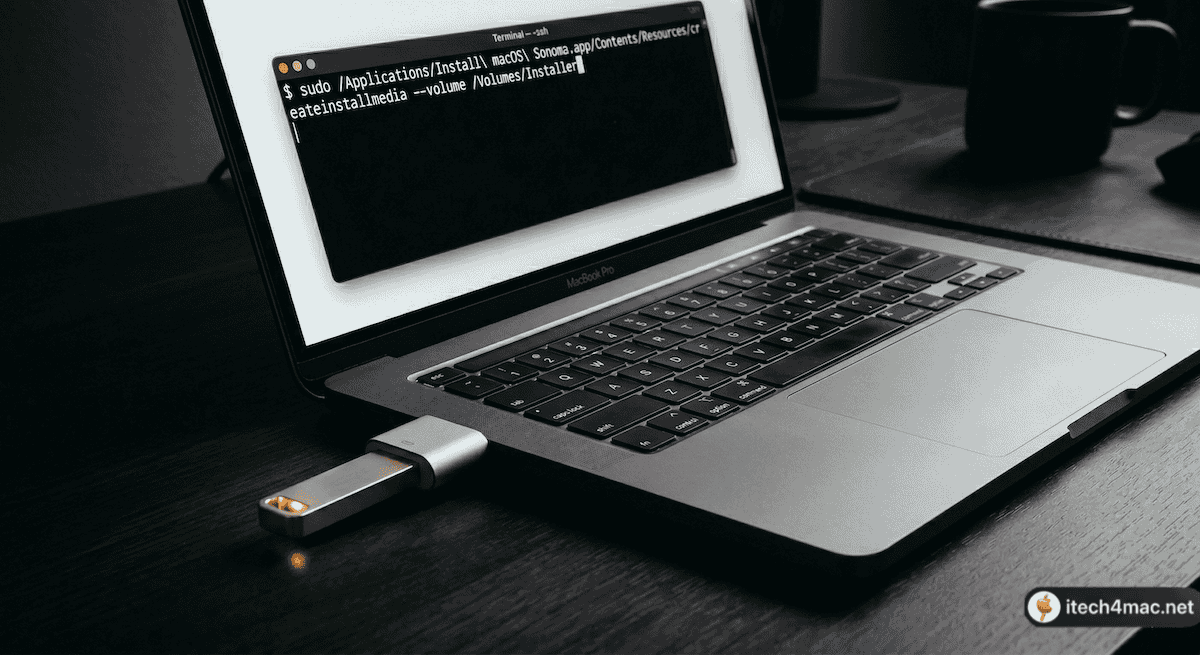
Fix 8: Create and Install from a Bootable USB Installer
If all over-the-air methods fail, create a bootable USB installer. This bypasses all network and server issues entirely:
- Download the full macOS Tahoe installer (see Fix 4 above)
- Insert a USB drive (16 GB or larger) and run in Terminal:
sudo /Applications/Install\ macOS\ Tahoe.app/Contents/Resources/createinstallmedia --volume /Volumes/MyUSBDrive
- Restart your Mac, hold Option, and select the USB installer
- Install normally from the USB
Fix 9: Run Disk First Aid Before Installing
Disk corruption silently blocks macOS installations. Run First Aid before trying to install:
- Open Applications → Utilities → Disk Utility
- Select “Macintosh HD” and click First Aid → Run
- Repeat for “Macintosh HD – Data” if shown separately
- Restart and try the installation again
Fix 10: For the “Reboots Back to Old macOS” Bug (M3 Ultra specific)
This was a known bug affecting Mac Studio with M3 Ultra, where macOS Tahoe appeared to install but the Mac rebooted back into Sequoia. Apple fixed this in macOS Tahoe 26.0.1. If you are on an older version of Sequoia, update to the latest Sequoia first (15.7.5 as of March 2026), then attempt the Tahoe upgrade. Some users required a DFU firmware revive — contact Apple Support if the issue persists after updating Sequoia first.