How to run windows in Mac completely free?
Want to run Windows on your Mac without spending a penny? Whether you need Windows for a specific app, gaming, or just to try it out, you can do it for free using tools like VirtualBox, UTM, or Boot Camp. In this guide, we’ll walk you through each method step by step, so you can get Windows up and running on your Mac—whether it’s an Intel-based Mac or one with an M-series chip (like M1, M2, or M3). Let’s explore your options!
Note: You can also run windows on your iPhone following the steps described in a special tutorial.
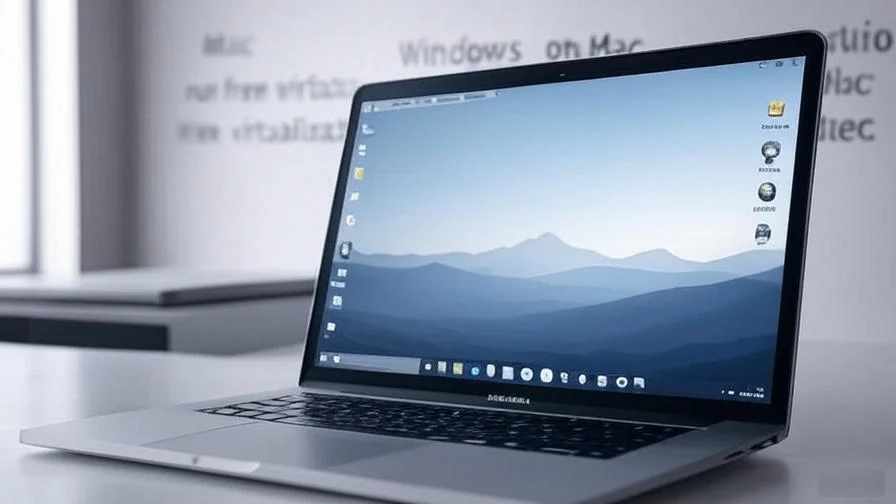
How to Run Windows on Mac for Free: VirtualBox, UTM, and Boot Camp Guide
Let’s explore your options!
Why Run Windows on a Mac?
Running Windows on your Mac lets you access Windows-only apps, play PC games, or work in a Windows environment without needing a separate PC. Apple makes this possible through free tools and third-party software, giving you flexibility depending on your Mac’s hardware. Here are three free methods to get started.
Method 1: Run Windows with Boot Camp (Intel Macs Only)
Boot Camp is Apple’s built-in tool for installing Windows natively on Intel-based Macs. It’s not available for M-series Macs (like M1 or M2), but it’s a great option if you have an older Intel Mac.
- Check your Mac: Go to Apple Menu > About This Mac. If it says Intel, you’re good to go. M-series chips won’t work with Boot Camp.
- Download Windows 10 ISO: Visit Microsoft’s website and download the Windows 10 ISO file for free. You don’t need a product key to install it (you can skip activation for now).
- Open Boot Camp Assistant: Find it in Applications > Utilities. Launch it and follow the prompts.
- Set up a partition: Boot Camp will ask you to allocate space for Windows (at least 64GB, but 128GB is better for performance).
- Install Windows: Boot Camp will restart your Mac and boot into the Windows installer. Select the BOOTCAMP partition, format it, and follow the on-screen steps to install Windows.
- Install drivers: After Windows installs, Boot Camp will automatically set up drivers for your Mac’s hardware. Restart when prompted.
- Switch between OS: Hold the Option key during startup to choose between macOS and Windows.
Pros: Native performance, great for gaming or heavy apps.
Cons: Requires restarting to switch OS, not available on M-series Macs.
Method 2: Use VirtualBox for Virtualization (Intel Macs)
VirtualBox is a free virtualization tool by Oracle that lets you run Windows inside macOS on Intel-based Macs. It’s not officially supported on M-series Macs yet, so this method is best for older Macs.
- Download VirtualBox: Get it from the official VirtualBox website and install it on your Mac.
- Get Windows 10 ISO: Download the Windows 10 ISO from Microsoft’s website (same as above).
- Set up a virtual machine (VM): Open VirtualBox, click New, and name your VM (e.g., “Windows 10”). Select Windows 10 (64-bit) as the type.
- Allocate resources: Assign at least 2GB of RAM (more if your Mac can handle it) and create a virtual hard disk (25GB is a good start).
- Load the ISO: In VirtualBox, select your VM, click Settings > Storage, and load the Windows 10 ISO as a virtual optical disk.
- Install Windows: Start the VM, and it will boot from the ISO. Follow the Windows setup process. Skip the product key to use it for free.
- Install Guest Additions: After setup, go to Devices > Insert Guest Additions CD Image in VirtualBox to improve performance and screen resolution.
Pros: Free, runs Windows alongside macOS, no reboot needed.
Cons: Slower performance than Boot Camp, not compatible with M-series Macs.
Method 3: Use UTM for Virtualization (M-Series and Intel Macs)
UTM is a free, open-source tool that uses QEMU to run Windows on both Intel and M-series Macs. It’s the best free option for M1, M2, or M3 Macs since Boot Camp isn’t supported on those chips.
- Download UTM: Get it from the UTM website or GitHub and install it on your Mac.
- Download Windows 11 ARM ISO (M-series Macs): For M-series Macs, you’ll need the ARM version of Windows. Join the Windows Insider Program (free) and download the Windows 11 ARM ISO from Microsoft’s site. For Intel Macs, use the standard Windows 10 ISO.
- Create a VM in UTM: Open UTM, click Create a New Virtual Machine, and choose Virtualize. Select Windows as the OS.
- Load the ISO: Check Install Windows 10 or Higher, then click Browse to select your Windows ISO.
- Set resources: Allocate at least 4GB of RAM and 64GB of storage for the VM. You can also set up a shared folder to transfer files between macOS and Windows.
- Install Windows: Start the VM by clicking the Play button. Follow the Windows setup process. Skip the product key to use it for free.
- Install SPICE Tools: After setup, go to My Computer in Windows, find the SPICE Guest Tools CD (auto-mounted by UTM), and install it for better performance and features like copy-paste between OSes.
Pros: Works on both Intel and M-series Macs, free, decent performance on ARM chips.
Cons: Slower than Boot Camp, setup can be tricky for beginners.
Bonus Tips for a Smooth Experience
- Update your macOS: Ensure your Mac is running the latest macOS for compatibility with these tools.
- Free up space: Windows needs at least 64GB of free space, so clear out unnecessary files before starting.
- Consider paid alternatives: If free methods don’t meet your needs, tools like Parallels Desktop offer smoother performance but come with a cost.
Frequently Asked Questions
Q: Can I run Windows 11 on an M-series Mac for free?
A: Yes, using UTM and the Windows 11 ARM ISO from the Windows Insider Program, you can run it for free.
Q: Is Boot Camp better than virtualization?
A: Boot Camp offers better performance since it runs Windows natively, but you can’t use macOS and Windows at the same time like you can with VirtualBox or UTM.
Q: Do I need a Windows license?
A: No, you can install Windows for free without a license, but you’ll miss out on some customization options and may see activation reminders.
Running Windows on your Mac doesn’t have to cost a thing. Boot Camp is the best free option for Intel Macs if you want native performance, while VirtualBox and UTM offer free virtualization for running Windows alongside macOS. UTM is especially great for M-series Macs, where Boot Camp isn’t an option. Pick the method that fits your Mac and needs, and you’ll be running Windows in no time!
Have questions about setting up Windows on your Mac? Drop them in the comments—we’re here to help!





3 thoughts on “How to run windows in Mac completely free?”