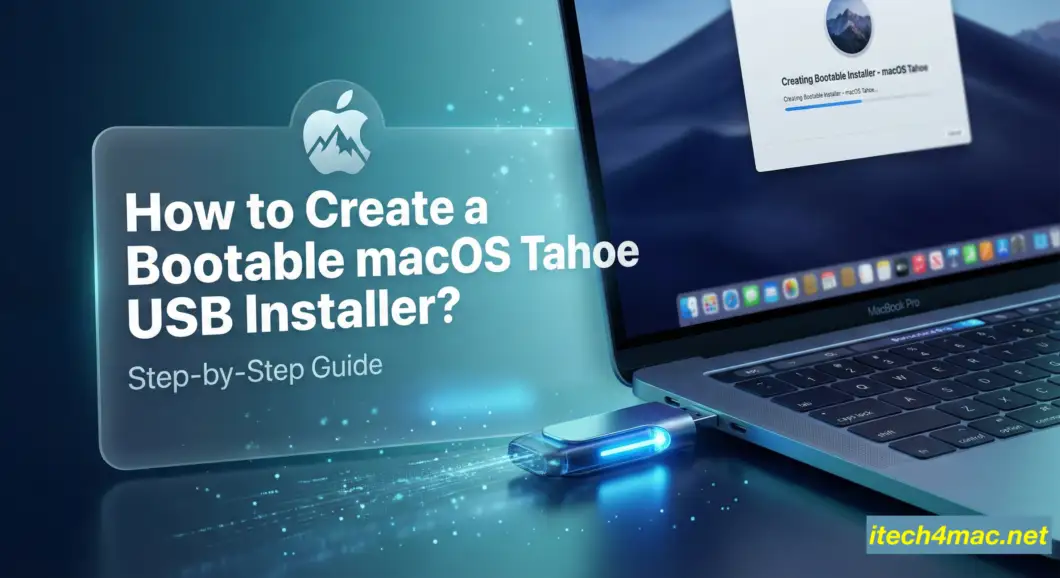
How to Create a Bootable macOS Tahoe USB Installer?
Whether you are upgrading a fleet of office Macs, fixing a “bricked” device that won’t boot, or simply want a fresh, clean start for your machine, a bootable USB installer is the single most important tool in a Mac user’s arsenal.
With the release of macOS 26 (Tahoe), the process has remained largely similar to previous years, but there are a few new quirks – especially if you are dealing with unsupported hardware or the latest M4 chips.
In this guide, I will walk you through the official “Terminal Method.” It looks intimidating, but it is the safest, most reliable way to do it.
Prerequisites: What You Need
Before we start, gather these three things:
- A USB Flash Drive: At least 16GB in size. (USB-C drives are faster and recommended for modern Macs).
- Warning: This process will erase everything on the drive.
- The macOS Tahoe Installer: You must have the full installer app (about 14GB) in your Applications folder.
- A Mac: You need a working Mac to create the drive.
Step 1: Download the macOS Tahoe Installer
If you haven’t downloaded the OS yet, you have two options:
Option A: The App Store (Official)
- Open the App Store.
- Search for “macOS Tahoe.”
- Click Get.
- Important: Once the download finishes and the installer window pops up, do not click Install. Press
Command + Qto quit the installer. - Check your “Applications” folder. You should see an app named
Install macOS Tahoe.app.
Option B: Software Update (Terminal) If the App Store is bugging out, use this Terminal command to force the download: softwareupdate --fetch-full-installer --full-installer-version 26.0
Step 2: Format Your USB Drive
We need to format the drive specifically so the Mac can boot from it.
- Plug in your USB drive.
- Open Disk Utility (Cmd + Space, type “Disk Utility”).
- In the sidebar, click View > Show All Devices. (This is crucial!).
- Select the top-level name of your USB drive (e.g., “SanDisk Ultra Media”).
- Click Erase.
- Use these exact settings:
- Name:
MyVolume(Do not change this, or the code below won’t work). - Format:
Mac OS Extended (Journaled). - Scheme:
GUID Partition Map.
- Name:
- Click Erase and wait for it to finish.
Step 3: The Magic Command (Terminal)
Now for the part that makes you look like a hacker. We will use the built-in createinstallmedia tool.
- Open Terminal (Cmd + Space, type “Terminal”).
- Copy and paste the following command exactly:
Bash
sudo /Applications/Install\ macOS\ Tahoe.app/Contents/Resources/createinstallmedia --volume /Volumes/MyVolume
- Press Enter.
- Type your Mac’s admin password.
- Note: You won’t see the letters appearing as you type. This is normal security. Just type it blind and hit Enter.
- The Terminal will ask:
If you wish to continue type (Y) then press RETURN. - Type
yand hit Enter.
Now, wait. The Terminal will show a progress bar (0%… 10%… ). This can take anywhere from 10 to 30 minutes depending on the speed of your USB drive. Do not unplug it until you see the message: Install media now available at "/Volumes/Install macOS Tahoe".
Step 4: How to Boot From Your New USB
Now that you have the key, here is how to start the car.
For Apple Silicon Macs (M1, M2, M3, M4):
- Shut down the Mac completely.
- Press and hold the Power button. Keep holding it.
- You will see “Loading startup options…” on the screen.
- Release the button.
- Select Install macOS Tahoe from the icons and click Continue.
For Intel Macs:
- Shut down the Mac.
- Press the Power button, then immediately press and hold the Option (Alt) key.
- Wait until you see the boot selection screen.
- Select the Install macOS Tahoe disk (it will likely be yellow) and press Enter.
Troubleshooting: Common Errors
Error: “Command not found”
- Fix: This usually means the installer isn’t in your Applications folder, or it’s named differently. Check your Applications folder. If the file is named
Install macOS Tahoe Beta, you need to update the command to match that name.
Error: “Volume is not a valid mount point”
- Fix: You probably didn’t name your USB drive
MyVolumein Step 2. Either reformat the drive, or changeMyVolumein the code to match your drive’s actual name.
Error: “The copy of the install application is damaged”
- Fix: This is a common certificate error.
- Disconnect from the internet (turn off Wi-Fi).
- Open Terminal in the installer menu.
- Type
date 0101010126(sets the date to Jan 1st, 2026). - Try installing again.
Conclusion
You now have a physical lifeline for your Mac. Keep this USB drive in a safe place (label it!). In the world of tech support, having a bootable installer ready to go is the difference between a 1-hour fix and a 3-day disaster.