How to Install macOS Sequoia on Unsupported Mac Using OCLP?
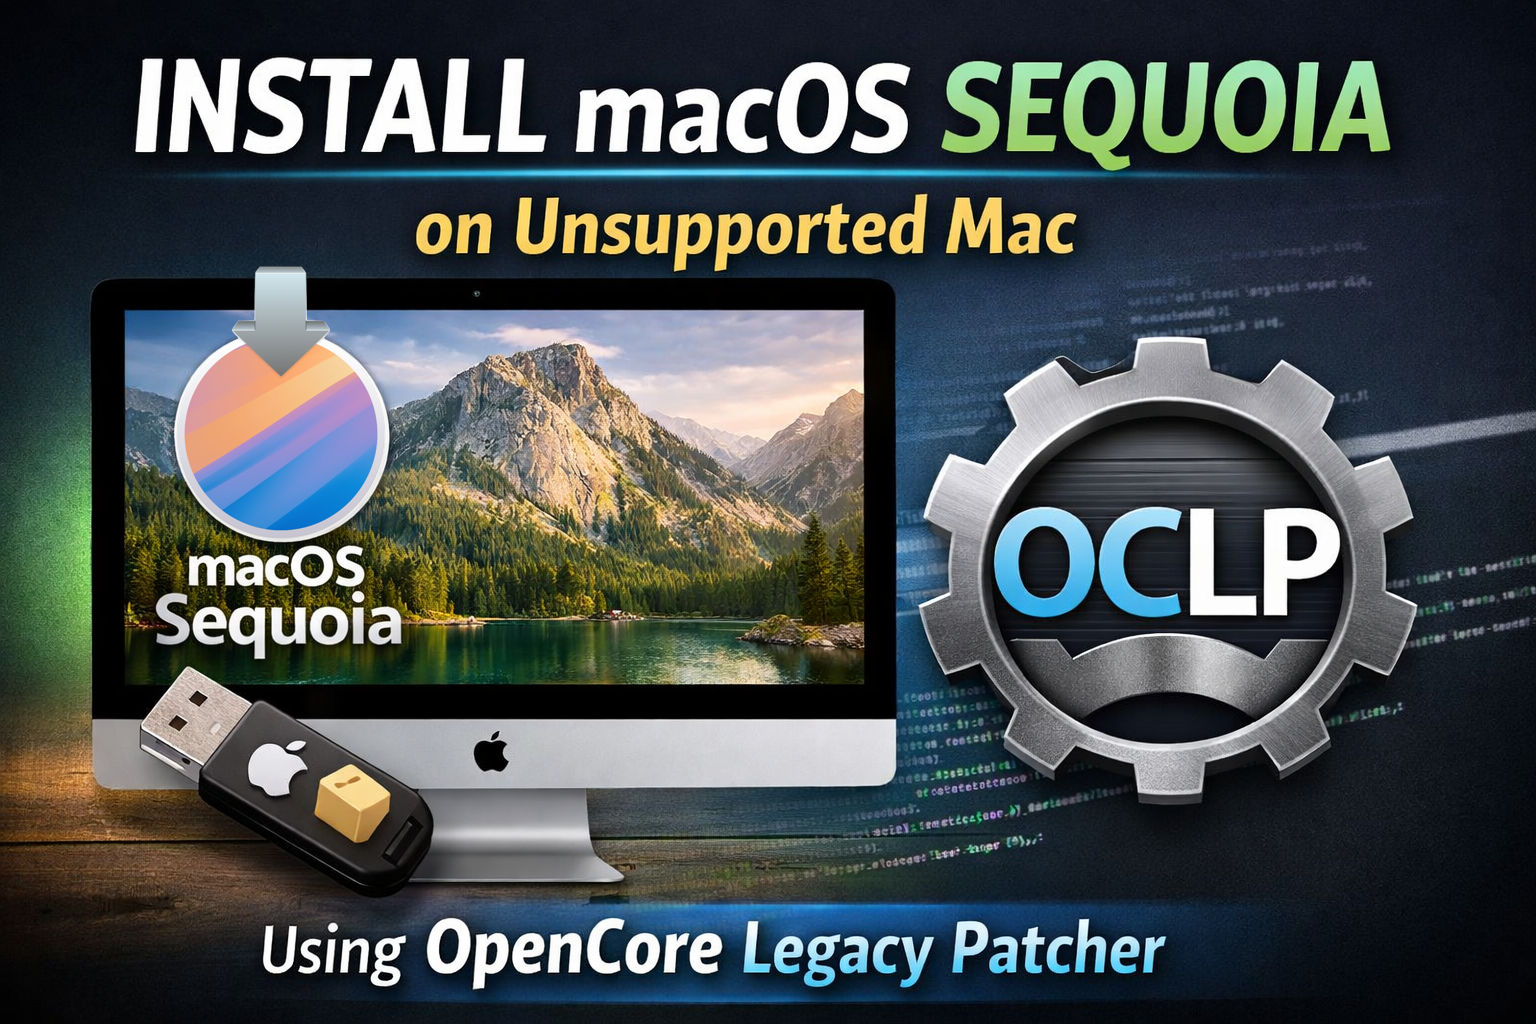
Installing macOS Sequoia on an older Mac that doesn’t officially support it requires a specialized tool called OpenCore Legacy Patcher (OCLP). This free, open-source bootloader enables installation of newer macOS versions on legacy hardware by bypassing compatibility restrictions and applying patches for hardware functionality.
⚠️ Important: This process is not supported by Apple and can carry risks including data loss or unstable hardware behavior. Always back up your data before proceeding.
Prerequisites
Before starting, make sure you have:
- Intel-based Mac — 2008 or newer (PowerPC and Apple Silicon Macs are not supported by OCLP).
- A USB drive — at least 16 GB (32 GB recommended).
- macOS Sequoia installer — downloaded via OCLP from Apple servers or manually (official installer).
- Current macOS installed on this or another Mac — used to prepare the installer.
- A backup of your data — always a must before modifying system software.
Step-By-Step Installation Guide
1. Download and Install OpenCore Legacy Patcher
- Visit the official OCLP site and download the latest version of OpenCore Legacy Patcher.
- Install and launch the OCLP application on your Mac.
2. Create a Bootable macOS Sequoia USB Installer
- In OCLP, choose “Create macOS Installer” and select macOS Sequoia as the version to install.
- Connect your USB drive and let OCLP format it and build the bootable USB.
- OCLP will download macOS Sequoia directly from Apple servers and configure a bootable installer with the OpenCore bootloader included.
This USB stick will later be used to boot your unsupported Mac into the macOS installer.
3. Boot Your Mac from the USB Installer
- Insert the USB installer into the unsupported Mac.
- Restart and hold the Option (Alt) key immediately after powering on.
- In the Startup Manager, choose EFI Boot — the installer prepared by OCLP should appear.
- This loads the OpenCore bootloader first, then the macOS installer.
You should see the “Install macOS Sequoia” option — this means OCLP is successfully allowing the installer to run.
4. Install macOS Sequoia
- Use the installer to either:
- Clean install — erase your drive and install fresh, or
- Upgrade install — attempt to preserve existing data (less recommended for older hardware).
- Follow the on-screen installation steps just like a normal macOS install.
5. Post-Install Root Patching
After the initial installation and first boot:
- Launch OpenCore Legacy Patcher again from the macOS Sequoia desktop (sometimes requires reopening OCLP from the installer USB if not present by default).
- Select Post-Install Root Patch.
- If patches are needed, click Start Root Patching.
- Reboot when the process completes.
Root patches restore hardware functions like graphics acceleration, Wi-Fi, Bluetooth, and other device drivers that Apple disables for unsupported Macs.
6. (Optional) Install OpenCore on Internal Disk
While the USB installer will boot just fine, you might want to install OpenCore to your internal drive’s EFI so you don’t need the USB every boot:
- Reopen OCLP and choose Build & Install OpenCore.
- Select your internal drive’s EFI and install the patched OpenCore.
- Reboot holding Option and select it as the default boot device.
Troubleshooting Tips
- Installation errors: Sometimes the USB installer seems to hang — wait patiently or recreate the USB again.
- Missing root patches: Make sure you re-run the post-install patches if you notice missing graphics or slow interface performance.
- Compatibility check: Not all old Macs will run Sequoia — older hardware may perform poorly or face unsupported features.
Conclusion
Installing macOS Sequoia on an unsupported Mac using OpenCore Legacy Patcher (OCLP) is achievable when following a careful, step-by-step process. The steps include preparing a bootable USB installer, using OCLP to apply patches, and ensuring post-install root patches are applied to bring hardware support back online.
This process doesn’t alter your Mac’s firmware and is reversible, but do always backup your data beforehand.
References
Here are the references confirming the method and steps described above:
- “How OpenCore Legacy Patcher Works” — Official OCLP documentation detailing macOS installation steps including custom EFI creation, USB boot loader, and patches. (link)
- Wikipedia entry for OpenCore Legacy Patcher — describes the purpose, supported hardware, and installation tool overview. (Link)
- AppleInsider article on installing macOS Sequoia on unsupported Macs — shows post-install root patch procedures and integrating OpenCore into the system drive. (Link)
- Macworld guide to macOS installation on unsupported Macs using OCLP — confirms building OpenCore and using bootable USB method. (Link)





Hey! I’m at work browsing your blog from my new iphone 3gs!
Just wanted to say I love reading through your blog
and look forward to all your posts! Keep up the outstanding work!
Hurrah, that’s what I was looking for, what a data!
existing here at this web site, thanks admin of this web
site.
Hello! Would you mind if I share your blog with my facebook group?
There’s a lot of folks that I think would really enjoy your content.
Please let me know. Thanks
you are welcome to share 🙂 but please inform me what Facebook group you will share
You ought to take part in a contest for one of the best websites
online. I will highly recommend this blog!
I’m truly enjoying the design and layout of your blog.
It’s a very easy on the eyes which makes it much more pleasant for me to come here and visit more often. Did you hire out a developer to create your theme?
Great work!