How Virtual Machines Work and How to Manage Software and Data?
Virtual machines (VMs) are powerful tools that let you run a separate computer environment within your Mac, enabling you to use different operating systems like Windows 11 or Linux without needing a second device. Whether you’re testing software, developing apps, or running Windows on your M-series Mac, understanding how VMs work and how to manage their software and data is key.
In this guide, we’ll break down the mechanics of VMs in simple terms and explain how to keep your installed programs and saved files secure, tailored for Mac users on iTech4Mac.net.
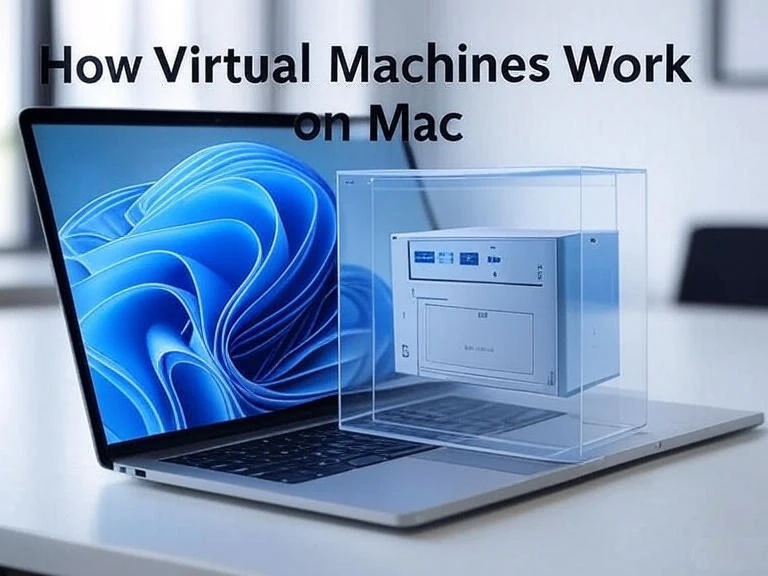
What Is a Virtual Machine?
A virtual machine is a software-based emulation of a computer that runs within your existing system. It acts like a standalone computer with its own:
- Operating System: Such as Windows 11 ARM, Linux, or another macOS instance.
- Applications: Programs installed within the VM, separate from your Mac’s apps.
- Storage: A virtual disk that stores the VM’s files and settings.
For example, on an M-series Mac, you can use a VM to run Windows 11 for Microsoft Office or legacy software, all while keeping your macOS environment untouched.
How Do Virtual Machines Work?
VMs operate by leveraging virtualization software to create a virtual environment. Here’s the process in simple steps:
- Virtualization Software: Tools like UTM, Parallels Desktop, or VMware Fusion act as the “host” to create and manage the VM.
- Resource Allocation: You assign a portion of your Mac’s resources CPU cores, RAM, and storage to the VM. For example, 4GB of RAM and 2 CPU cores.
- Install an Operating System: You load an OS (e.g., Windows 11 ARM ISO) into the VM, which behaves like a fresh computer.
- Run the VM: The software simulates a full computer, letting you install apps, browse the web, or save files within the VM’s environment.
The virtualization software uses Apple’s Hypervisor framework on M-series Macs to run ARM-based OSes efficiently, ensuring near-native performance.
Why Use a Virtual Machine on Your Mac?
VMs offer flexibility and safety for various tasks:
- Cross-Platform Testing: Run Windows apps or Linux tools on your Mac.
- Safe Experimentation: Test software or updates without risking your main system.
- Development: Build and test apps for different OSes.
- Isolation: Keep VM activities separate, protecting your Mac from potential issues like malware.
For M-series Mac users, VMs are ideal for running Windows 11 ARM or lightweight Linux distros with minimal performance impact.
How to Manage Software and Data in a Virtual Machine
Keeping your software and data secure in a VM involves understanding how VMs store and manage content. Here’s how it works:
1. Virtual Disks Store Everything
- A VM uses a virtual disk (a single file, like “.utm” or “.vmdk”) to store its operating system, apps, and data.
- When you install software (e.g., Microsoft Word in a Windows VM) or save files (e.g., documents or photos), they’re stored in this virtual disk, not your Mac’s main storage.
- Example: A Windows 11 VM on UTM might use a 20-50GB virtual disk file to hold everything.
2. Preserving the Virtual Disk
- The virtual disk file is saved on your Mac’s hard drive or SSD. As long as this file isn’t deleted, your VM’s software and data remain intact, even after shutting down the VM or restarting your Mac.
- Tip: Back up the virtual disk file to an external drive or cloud storage (e.g., iCloud) to prevent data loss if your Mac fails.
3. Installing and Updating Software
- Install apps within the VM just as you would on a physical computer. For example, in a Windows 11 VM, download apps from the Microsoft Store or trusted websites.
- Update the VM’s operating system (e.g., via Windows Update) and apps to maintain performance and security.
- Note: Updates are stored in the virtual disk, so they persist across VM sessions.
4. Protecting Your VM Data
- Backups: Regularly copy the virtual disk file to a safe location. For large VMs, use an external SSD for faster transfers.
- Snapshots: Tools like Parallels Desktop and VMware offer snapshots, which save the VM’s exact state at a given moment. If an app crashes or the VM fails, revert to the snapshot to restore it.
- Security: Install antivirus software within the VM (e.g., Windows Defender for Windows 11) to protect against malware. VMs are isolated, so issues typically don’t affect your Mac.
- Storage Management: VMs can grow large (20-100GB). Delete unused snapshots or old VMs to free up space.
5. Moving or Sharing VMs
- To use your VM on another Mac, copy the virtual disk file to the new computer and open it with the same VM software (e.g., UTM or Parallels Desktop).
- Ensure the new Mac has enough resources (RAM, CPU) to run the VM smoothly.
Best Practices for VMs on M-Series Macs
- Choose Lightweight Software: UTM is the least resource-intensive for Apple Silicon, using ~1-2GB RAM idle. See our guide on lightweight VMs for M-series Macs.
- Optimize Resources: Allocate 4-8GB RAM and 2-4 CPU cores to balance VM and macOS performance. Avoid over-allocating on base-model Macs (e.g., 8GB M1).
- Use ARM-Compatible OSes: Windows 11 ARM and ARM-based Linux distros (e.g., Ubuntu ARM) run best on M-series chips.
- Keep macOS Updated: Ensure macOS Sequoia or later is installed for optimal Hypervisor support.
- Test Before Heavy Use: Run small tasks in the VM to confirm stability before installing critical apps.
Common Questions About VMs
Q: Can a VM harm my Mac?
No, VMs are isolated. Issues like viruses or crashes in the VM typically don’t affect your Mac’s main system.
Q: Will I lose my data if I close the VM?
No, all data is saved in the virtual disk file and persists unless you delete the file.
Q: Can I run multiple VMs at once?
Yes, if your Mac has enough RAM and CPU power. For example, an M2 Mac with 16GB RAM can handle 1-2 lightweight VMs.
finally
Virtual machines let you run a separate computer environment on your Mac, perfect for using Windows 11, Linux, or other systems without a second device. By using software like UTM or Parallels Desktop, you can install apps and save data in a virtual disk, keeping everything secure and portable. With proper backups and snapshots, your VM data stays safe. Ready to set up a VM? Try UTM for a lightweight option on your M-series Mac. For more tips, explore iTech4Mac.net and share your VM setup in the comments!
CTA: Check our guides on running Windows 11 on M-series Macs or optimizing macOS performance.